Lamb Shanks Reynolds Wrap
As described to me in a butcher shop in suburban Chicago, Illinois
Ingredients
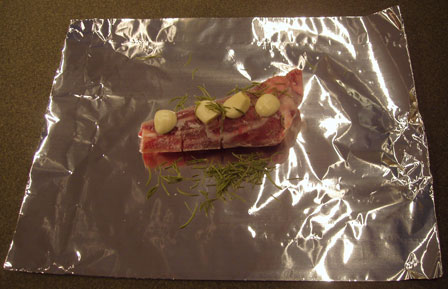
- Lamb shanks, cracked, one per person. Shanks you buy in the supermarket are usually cracked already. if not, ask the butcher to do so. Cracking the bone allows the marrow to escape and flavor the meat.
- 2 sprigs fresh rosemary per shank (or 1-3 tsp dried per shank)
- 1 or 2 peeled garlic cloves per shank
- olive oil to drizzle over the shanks (optional)
- 1 long (10-14 inches) piece of Reynolds aluminum foil per shank
Directions
- Turn the oven on to 200F. That's right, two hundred.
- Lay one shank on a piece of aluminum foil. Add a sprig of rosemary, garlic, and oil.
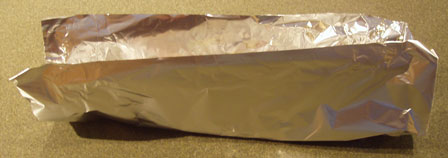
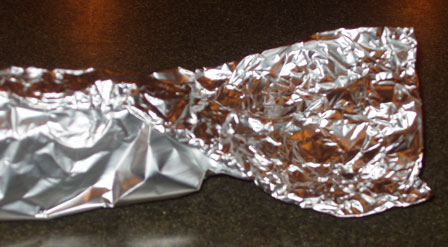
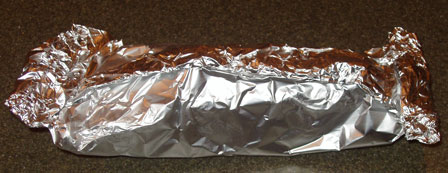
- Seal up the lamb shank in the foil very very snugly. I lift the foil above the shank lengthwise and then make a series of small folds until the tightly folded foil is snug against the shank. Then fold up and scrunch the two ends. You want to prevent the juices from dribbling out. That's the only secret to this recipe. If there is a leak in your seals, the shanks will be dry and tough and you will have nothing to show for your efforts but a walk down memory lane to your childhood of dry, tough lamb chops, and a messy oven to boot.
- Repeat for each shank.
- Put shanks in the oven after breakfast, or at least before noon. If you're worried about your seals, you can check for leaks after about an hour. Otherwise, leave them alone. You want them to be in the oven for at least 6 hours and up to 8 or 9 if you're out of the house.
- When you are ready to eat dinner, take the packets out, open them carefully (hot steam will escape), save the juices if you like for gravy, and pull the meat off with a couple of forks.
How to securely wrap your lamb shanks in aluminum foil
Click or tap the image for a slide show
Be careful not to let a sharp edge of the shank slit the foil, or you will need to start over!
This is tricky only the first time. Thereafter, you can easily do it while listening to a Wagner opera or watching TV or enjoying your favorite adult beverage -- but probably not with your eyes actually closed.
Best served on top of a bed of rice.
These shanks will not be crispy nor a lovely mahogany color. In fact, they will look pretty insipid on the bone. That's why they are best cut off the bone and scattered on top of rice, perhaps with some heated up frozen peas. But they will taste heavenly, and besides, they take approximately 4.3 minutes to prepare, leaving you plenty of time to enjoy your flock.
Bon appétit!